Connect a Magento 1 store with Bold Checkout
This page is for Magento 1 merchants that want to use Bold Checkout on their store.
When prompted to Contact Bold with a request or certain information, reach out the Bold Account Manager that was assigned to your store.
Prerequisites
Before you connect your Magento 1 store with Bold Checkout, ensure you have the following:
- A Magento account.
- A payment gateway associated with the store.
Create an organization in Bold Account Center
You must create an organization in Bold Account Center in order to connect Magento 1 with Bold Checkout.
To create an account, use the following steps:
- On the Bold Account Center login page, click Get started.
- Select Create a new organization of your own.
- Complete the Name, Organization, Email, and Password fields. In this case, Organization usually refers to your company's name. This value is used to identify the stores associated with your account.
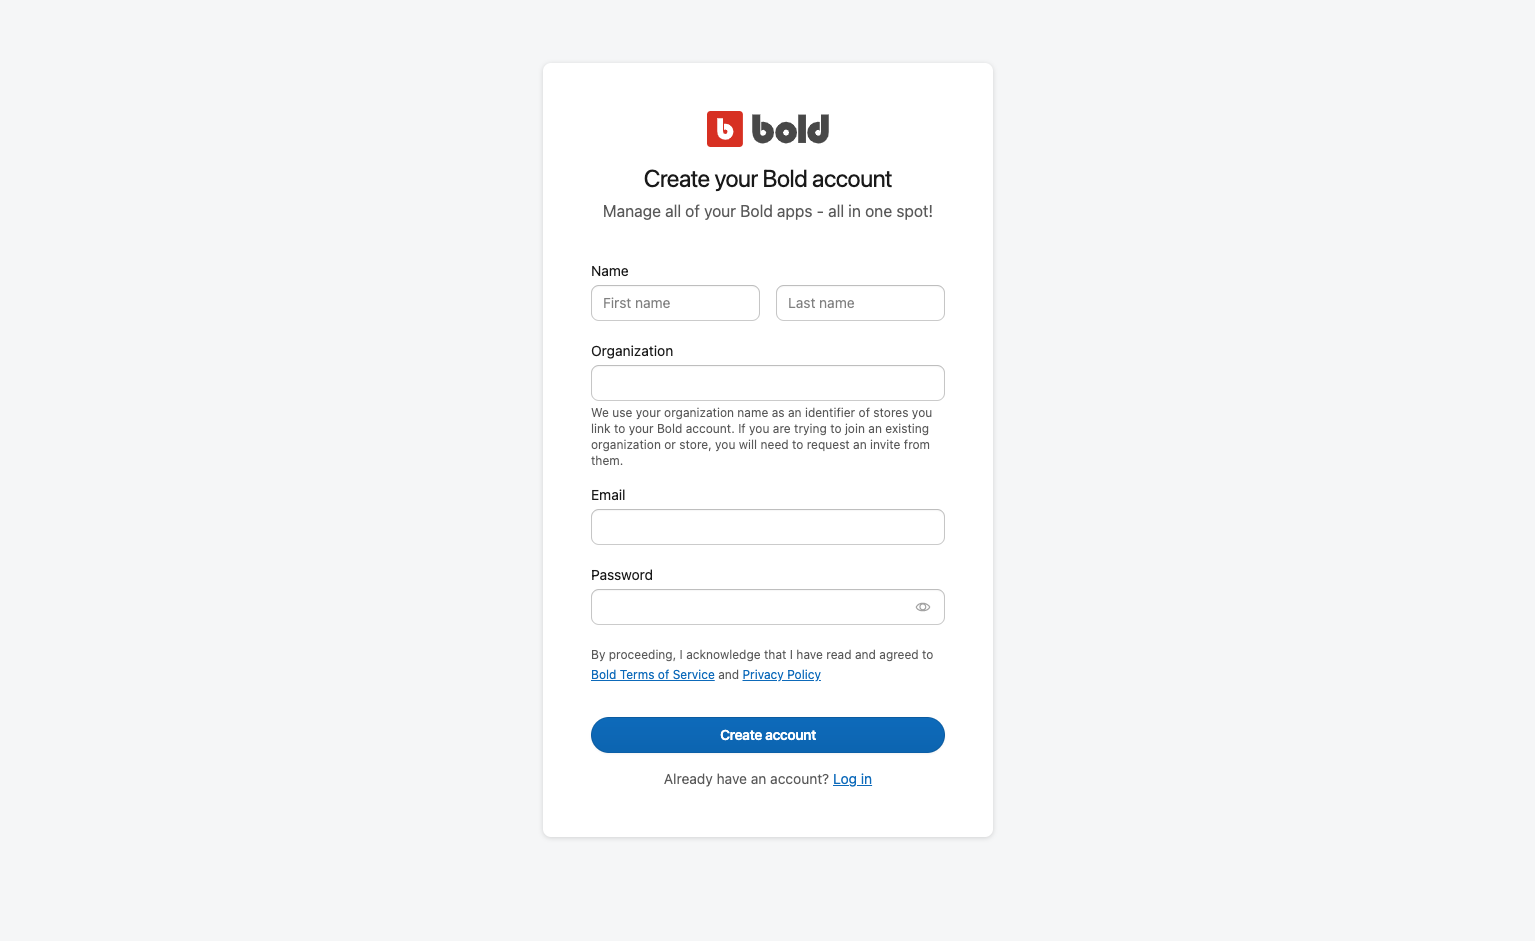
- Click Create Account. You will be redirected to a new screen where you can add your first store.
- From the Platform drop-down menu, select the Custom option, and enter your Store URL. Click Add store.
- In the pop-up dialog, you can invite new users to your organization or go to Launchpad, where you can manage your store.
Create an API access token
Now that you have logged in to the Bold Account Center and created a store, you can set up an API access token using the following steps:
From the Bold Account Center Launchpad, click API access tokens in the left-hand menu.
Select Create API access token.
Enter the API access token name, and select the scopes you need. The following screenshot shows the required scopes for a Magento 1 store:
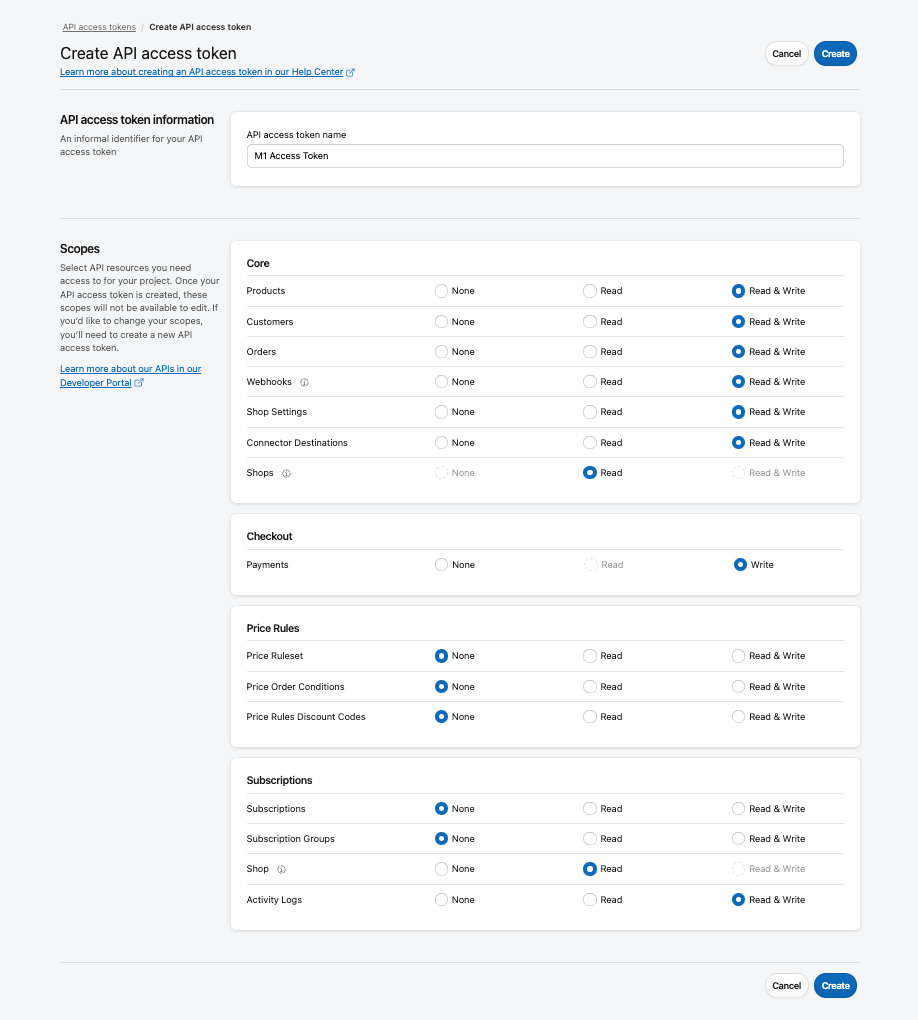
Click Create. A dialog box appears and provides a shared secret and API access token. Be sure to save both in a secure location, as they will disappear when you close the dialog.
Click Done when you are finished.
Add the Bold Checkout Integration to the Magento 1 store
The Bold team has created a custom Platform Connector, which enables your store to use Bold Checkout while still on Magento 1. Reach out to Bold to request access to the Bold Checkout Integration files.
Once you have the set of files, you can manually add them to your Magento 1 store as an extension. The following steps outline the process of doing so:
Unzip the files if necessary. Copy the extracted files to the
app/code/communitylocation in your store's directory. This upload automatically creates a new directory atapp/code/community/Bold/Checkout.Navigate to your store's Magento 1 Admin Panel.
Clear the cache.
- Navigate to System >> Cache Management.
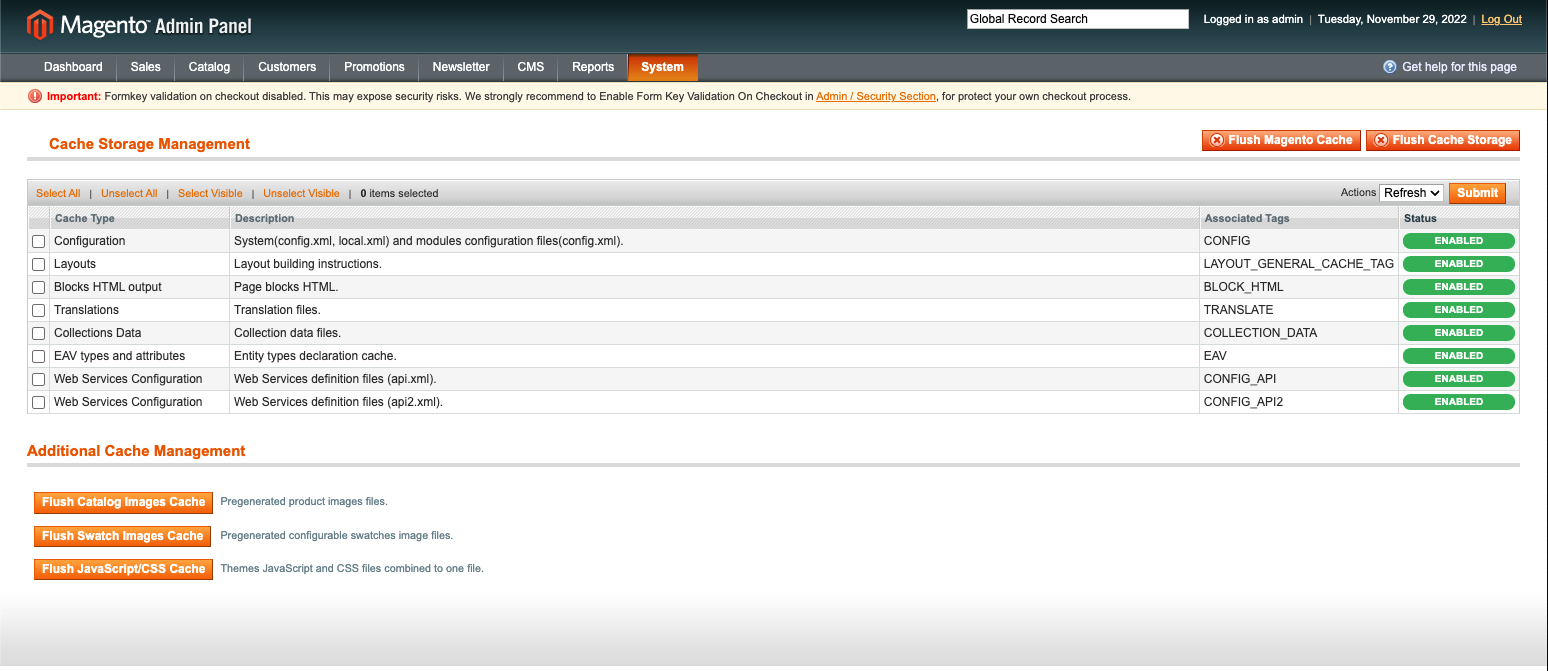
- Click the Flush Magento Cache button.
- Click the Flush Cache Storage button. A pop-up appears, asking for confirmation. Click OK.
- Navigate to System >> Cache Management.
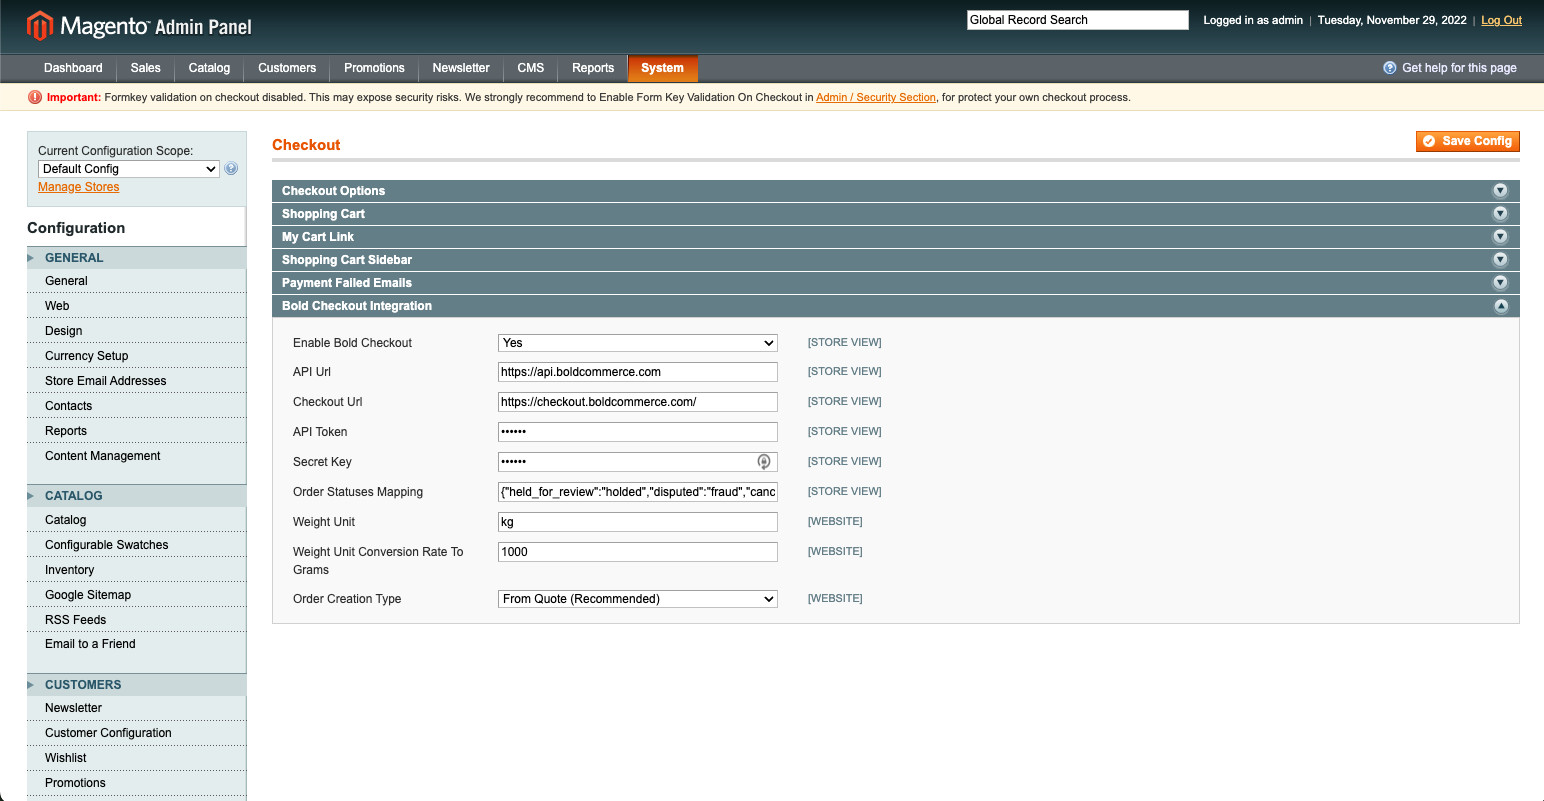
Navigate to System >> Configuration, and click Checkout in the Sales section of the left-hand menu. If the files were added properly, you will see a Bold Checkout Integration drop-down at the bottom of the list of extensions.
Expand the Bold Checkout Integration drop-down.
Select Yes from the Enable Bold Checkout drop-down.
All fields except API Token and Secret Key are automatically populated. For these fields, enter the API access token and shared secret that you retrieved from the Bold Account Center.
Click the Save Config button at the top of the page.
Configure Platform Connector destinations
In order for the Magento 1 Connector Extension to interact with your store, you must create Platform Connector destinations. These are URLs on your server that Bold calls to retrieve about your store's products, customers, and orders.
Configure server
For most Magento 1 customers, Bold recommends setting your Platform Connector destination URL to a single location on the server that is already hosting your store and the Bold Checkout Extension. For example, a destination may look like the following: https://mystoreurl.com/bold.
In very rare cases, your store may need a different server configuration. For more information, refer to the General server requirements and Configure the server sections in the Platform Connector documentation.
Register Platform Connector destinations with Bold
Once your server is configured, you must inform Bold of the location of your Platform Connector destinations on your server. Follow the instructions in the Provide Platform Connector destinations to Bold section of the Platform Connector documentation.
Install and configure Bold Checkout
Open Bold Account Center, and navigate to the Launchpad. Install Bold Checkout on your store, and open the application.
Use the following steps to set up Bold Checkout:
- Click Account >> Stored Credit Card. Note that you must use a real credit card, even when using a payment gateway in development mode.
- Click Payment options >> Payment gateways, and connect a payment gateway.
- You can connect a gateway in either production or development mode. Bold recommends first connecting a payment gateway in development mode so that you can ensure everything is set up correctly.
- Click Shipping >> Warehouse settings, and create a warehouse zone. This can be sample data and does not have to reflect an actual warehouse zone.
- Click Shipping >> Shipping zones, and create a shipping zone. This can be sample data and does not have to reflect an actual shipping zone.
- Click Payment options >> Tax settings, and create a tax zone. This can be sample data and does not have to reflect an actual tax zone.
- Click Settings >> General settings, and toggle the Use Public Order ID setting on.
Send request to add API key to Bold Checkout database
Contact Bold with a request to add your API access token to the Bold Checkout database. Include the store URL and API access token value in your request.
Set up the 3-page headless checkout template
The Magento 1 and Bold Checkout integration utilizes an updated three-page checkout experience that is not automatically available in Bold Checkout.
Contact Bold with a request to use the updated three-page checkout experience. In your request, include your store URL.
When your request is approved, your store will automatically be switched over. Verify that your checkout was updated by navigating to Settings >> General settings and scrolling down to the Appearance section. The Three-page experience should be automatically selected, as shown in the following screenshot:

Place test order
Now you can place an order to ensure that everything has been set up correctly. After ensuring that your store is in developer mode, navigate to the storefront and complete a checkout using the associated gateway's test card.
Optional: Send request to sync product and customer data from Magento 1 to Bold Platform
At any point, you can request that Bold syncs your platform data from Magento 1 to the Bold Platform.